
How to Study Engineering Mechanics: A 12-Week Plan
A practical 12-week engineering mechanics study plan: master free-body diagrams, equilibrium, friction, energy, momentum, and exam problems without cramming.
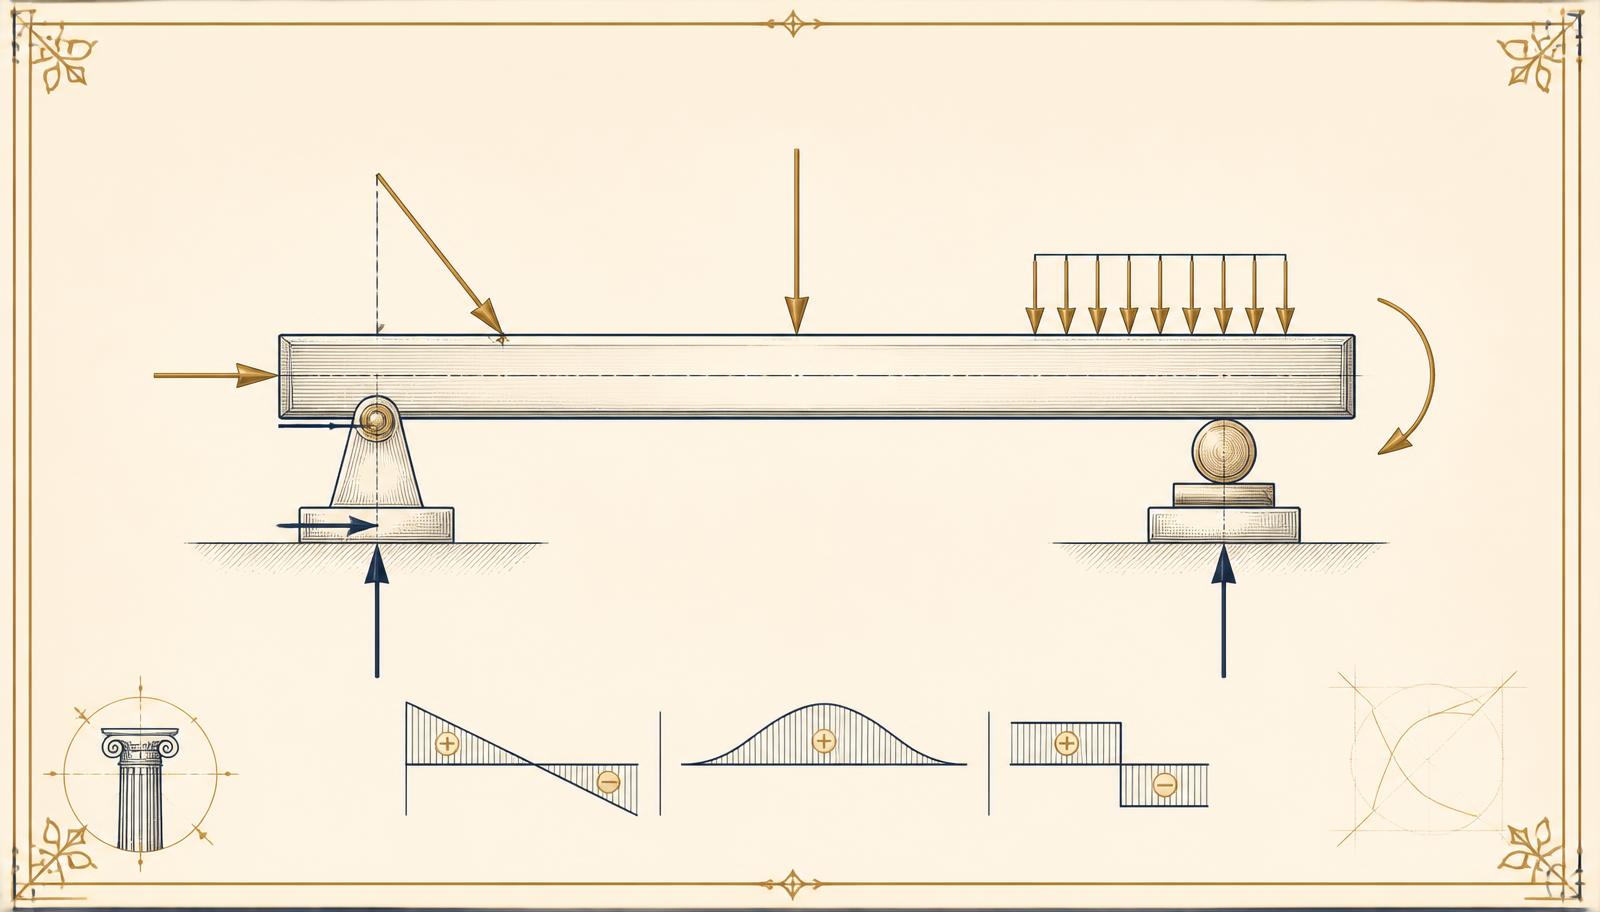
Engineering mechanics becomes manageable when every problem follows the same chain: model the system, draw the forces, write the equations, and check the result. This 12-week plan is for first-year engineering students and self-directed learners who want a repeatable way to study statics and introductory dynamics without relying on last-minute formula memorization.
The objective is not to finish the most pages. It is to build a reliable problem-solving habit. Each week adds one layer to the same workflow, so earlier topics remain useful when the problems become more complex.
Start with one rule: draw before you calculate
Before reaching for a calculator, make the physical situation visible. A free-body diagram is not decoration; it is the model that tells you which forces and moments belong in the equations.
For every problem, begin with six short lines:
1. System: State exactly what you are isolating: a particle, a block, a beam, a joint, or a complete body.
2. Sketch: Show geometry, supports, dimensions, angles, and the direction of motion if it matters.
3. Forces and moments: Add weight, applied loads, reactions, friction, and any couple moments that act on the system.
4. Knowns and unknowns: Write the values supplied and label every quantity you need to find.
5. Equations: Choose the balance, kinematic, or energy relationships that match the model.
6. Check: Confirm units, signs, direction, and whether the result is physically reasonable.
If the diagram is unclear, the algebra will usually be unclear too. Spend the extra minute on the model.
The 12-week engineering mechanics study plan
Use the plan as a sequence, not as a race. At the end of each two-week block, solve a mixed set without looking at the worked solution until you have completed your own setup.
| Weeks | Main focus | What to be able to do | Practice output |
|---|---|---|---|
| 1–2 | Units, vectors, components, and free-body diagrams | Resolve forces, choose axes, and draw complete diagrams | 15–20 short setup problems |
| 3–4 | Moments, couples, equilibrium, trusses, and frames | Calculate moments and solve unknown reactions using equilibrium | 8–12 complete statics problems |
| 5–6 | Friction, centroids, and center of gravity | Select a friction model and locate resultant weight or area | A one-page formula sheet plus mixed problems |
| 7–8 | Kinematics and kinetics | Relate position, velocity, acceleration, and net force | Problems that require both a diagram and an equation set |
| 9–10 | Work–energy and impulse–momentum | Choose an energy or momentum method and state its limits | A comparison set using different methods |
| 11–12 | Integration and exam practice | Start unfamiliar problems independently and explain each step | Two timed mixed sets and a corrected error log |
Weeks 1–2: build the language
Start with SI units, significant figures, scalars versus vectors, vector addition, and components. Then make free-body diagrams for simple bodies: a block on a surface, a hanging mass, and a body connected by a cable.
Do not move on just because the arithmetic is easy. Your first checkpoint is a clean diagram with a consistent coordinate system. If you cannot identify every external force, revisit the model before studying another formula.
Weeks 3–4: make equilibrium predictable
Study moments about a point, couples, support reactions, and the equations of equilibrium. Practice choosing a moment center that removes an unknown reaction from the equation. Then extend the same reasoning to trusses, frames, and machines where the system boundary changes.
For each problem, write why you selected the system boundary. That sentence exposes many errors before they reach the algebra.
Weeks 5–6: handle contact and distributed effects
Friction problems become easier when you distinguish impending motion from motion that has already started. Write the direction of possible motion before assigning the friction force. Then study centroids and center of gravity as ways to replace a distributed shape or weight with a useful resultant location.
Use sketches with dimensions. A centroid calculation without a clear shape decomposition is difficult to audit.
Weeks 7–8: connect motion to force
Review position, velocity, acceleration, and the standard kinematic relationships before moving into Newton’s laws. Separate a motion description from a force description: kinematics tells you how something moves; kinetics explains why.
Solve at least one problem in two stages: first identify the motion variables, then draw the free-body diagram and apply the force equations. This makes it easier to see which information is missing.
Weeks 9–10: choose energy or momentum deliberately
Work–energy methods are useful when you care about states before and after a change and do not need every intermediate force. Impulse–momentum methods are useful when a force acts over a time interval or during an impact.
Do not choose a method because the formula looks shorter. State the system, the initial and final states, and the assumptions first. Then explain why energy, momentum, or direct force analysis is the best fit.
Weeks 11–12: integrate and simulate the exam
Mix topics. A final problem may require a free-body diagram, equilibrium, friction, and energy in one sequence. Start with problems you have not seen, set a reasonable time limit, and keep the solution closed until you have completed the setup.
After each set, classify every error: model, equation, algebra, unit, sign, or interpretation. Re-solve the problem from the first incorrect step. Reading the correct answer is not the same as repairing the reasoning that produced the wrong one.
Use a repeatable daily study loop
A focused session can follow this sequence:
- Review one idea. Read a short section and write the central principle in your own words.
- Study one worked example. Cover each line after reading it and predict the next step.
- Solve one unseen problem. Start with the diagram and known/unknown list, even if you expect the problem to be simple.
- Keep an error log. Record the first wrong decision, not only the final wrong number.
- Revisit a previous topic. Include one older problem so that equilibrium, vectors, or units remain active while you learn new material.
A 60–90 minute block is enough for a useful session when it is focused. If your schedule is shorter, keep the sequence and reduce the number of problems rather than skipping the diagram or the error review.
A problem-solving template that scales
Use this template until it becomes automatic:
1. Define the system
Draw a boundary around the body or bodies you are analyzing. Decide whether the problem is about a particle, a rigid body, or a connected system.
2. Choose axes and conventions
Set positive directions and a moment sign convention. Write them on the page. Changing conventions halfway through is a common source of sign errors.
3. Draw the complete model
Include external forces, reactions, friction, dimensions, angles, and motion information. Do not add forces that belong to another body unless you are analyzing the combined system.
4. Write equations before inserting numbers
Use symbols first. This makes the structure visible and lets you check whether you have enough independent equations for the unknowns.
5. Substitute carefully and keep units visible
Carry units through the calculation. Delay rounding until the final step when possible, and keep extra digits in intermediate work.
6. Interpret the result
A negative reaction may mean your assumed direction was opposite to the actual direction. A very large acceleration or an impossible friction value may signal a modeling error. Treat the check as part of the solution.
Common mistakes to remove from your routine
- Skipping the free-body diagram: A formula cannot correct a missing force or an incorrect system boundary.
- Confusing mass and weight: Mass is measured in kilograms; weight is a force and depends on gravitational acceleration.
- Mixing sign conventions: Choose positive directions once and keep them visible.
- Using a friction value without checking the contact condition: Decide whether the surface is sticking, impending motion, or sliding.
- Rounding too early: Keep precision until the final answer so small changes do not distort a reaction or moment.
- Practicing only familiar examples: Alternate guided exercises with unseen problems so that recognition does not replace reasoning.
- Reading solutions too soon: Write a diagram and an equation plan before checking the textbook’s method.
How to use a textbook effectively
Read the chapter overview first, then work through one example with a pencil. Close the book and recreate the diagram from memory. Next, attempt a problem whose numbers or arrangement you have not already seen. Return to the explanation only to resolve a specific gap.
Keep three pages in your notebook: a compact reference sheet, a worked-example page, and an error log. The reference sheet should contain principles, units, and conditions—not a long list of disconnected formulas.
For a structured reference, see the Engineering Mechanics textbook. Once your study loop is working, you can apply the same model-first approach to the Knowledge Flow Books catalog and to related subjects such as thermodynamics.
Frequently asked questions
How many hours should I study engineering mechanics?
Choose a schedule you can repeat. A focused 60–90 minute block gives you time to review, solve, and correct one or two problems; shorter sessions can work if you preserve the same order. Consistency matters more than a single long cram session.
Should I memorize engineering mechanics formulas?
Memorize the basic relationships only after you understand what each term represents, its units, and the conditions under which it applies. Derive or check important formulas from a small reference sheet until the structure is familiar.
What should I study first?
Start with units, vectors, components, and free-body diagrams. Then move to moments and equilibrium. These skills appear again when you study friction, dynamics, energy, and momentum, so they are a better starting point than memorizing advanced formulas.
How do I know whether my answer is reasonable?
Check units, sign, direction, scale, and limiting cases. Ask what should happen if a load, angle, or friction coefficient becomes zero. A quick physical check often catches an algebra mistake that a calculator will not.
The goal is reliable reasoning
Engineering mechanics improves when the process is visible. Draw the system, state the assumptions, write the equations, and review the first wrong decision in every missed problem. Follow the 12-week sequence long enough to build that habit, and unfamiliar questions become a sequence of choices rather than a wall of formulas.
By Knowledge Flow Editorial Team
Last updated: